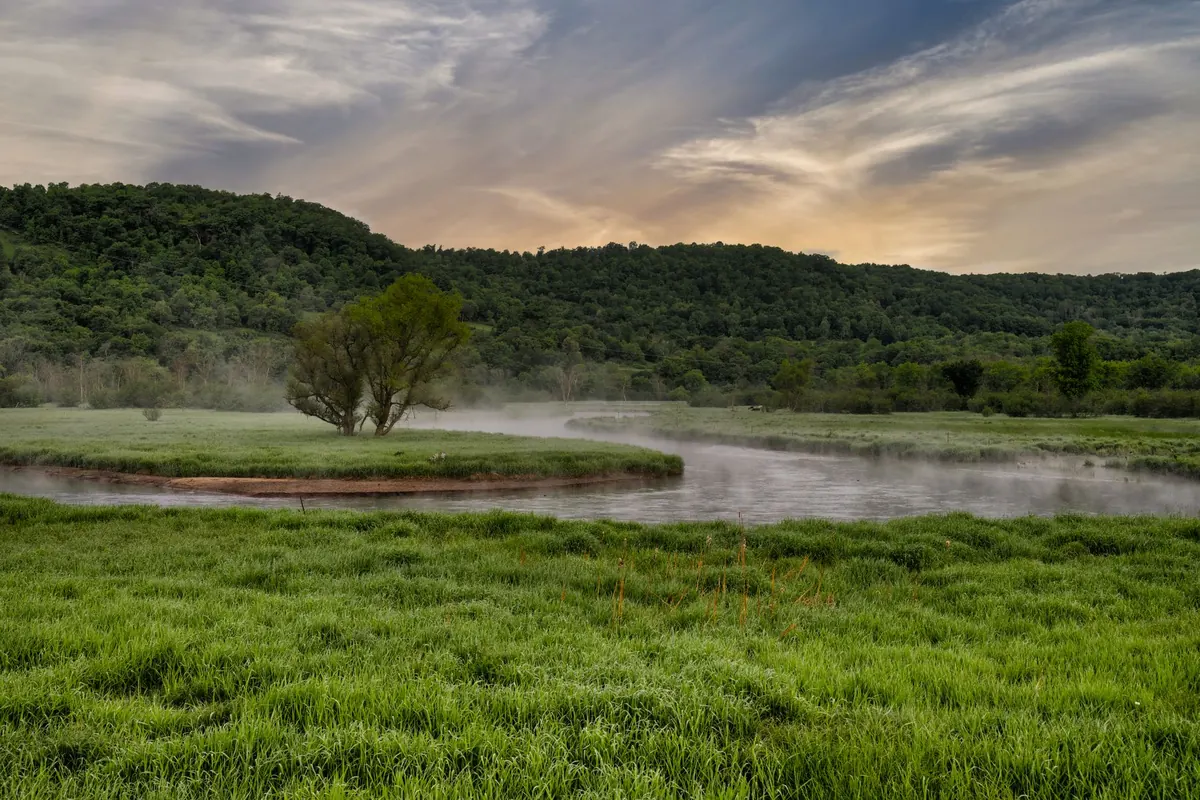
Beginner's Guide to Visibility and Fog Monitoring at Home
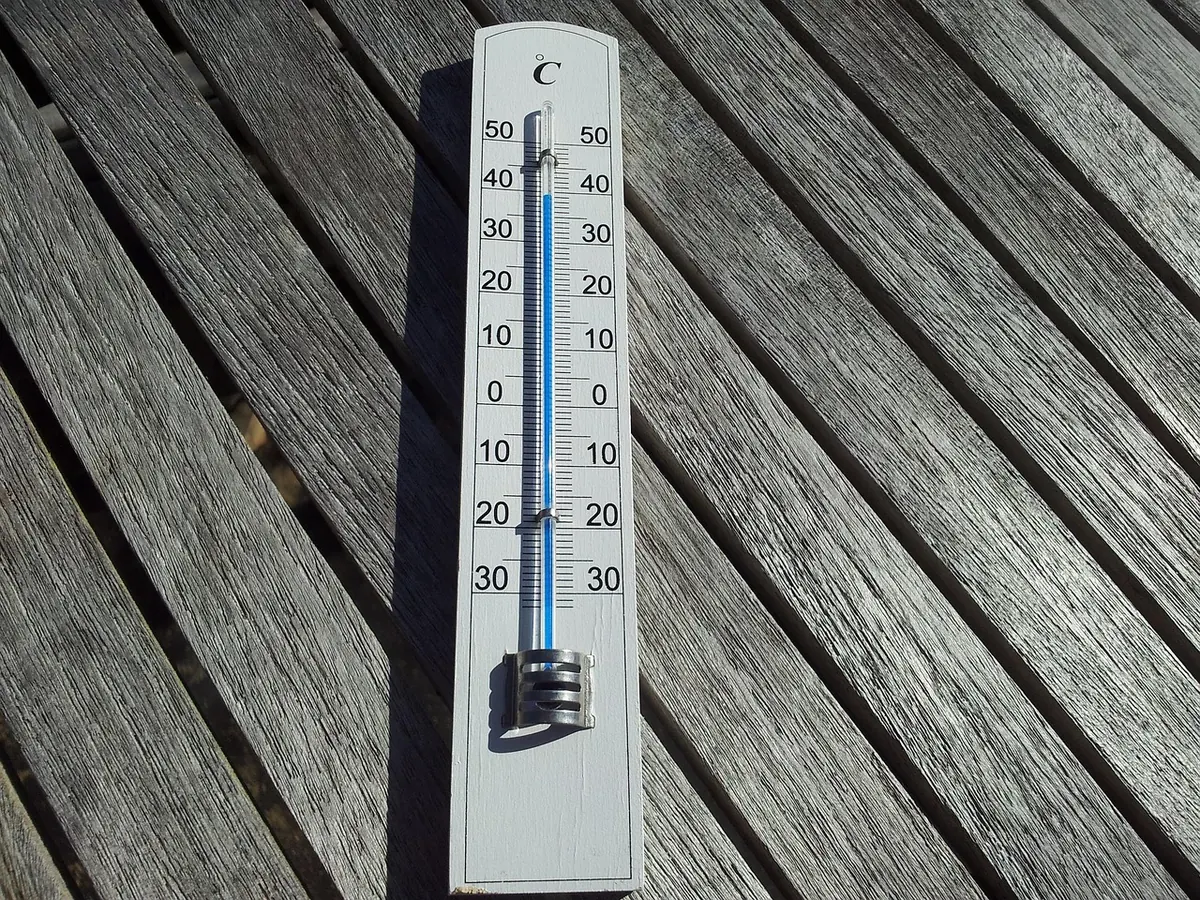
Fog is stubbornly local. Two villages a few miles apart can wake to completely different mornings, and a regional forecast will rarely tell you which one you are in. That is exactly why monitoring visibility at home is worth doing. With a few modest instruments, a handful of fixed landmarks and a routine you actually keep, you can learn the patterns that produce fog on your own patch of ground — and often call it an evening ahead.
What visibility actually means
In meteorology, visibility is the greatest distance at which a suitably sized dark object can be seen and identified against the sky near the horizon. That definition matters, because it is not simply "how far can I see today". Contrast, background brightness, illumination and the observer's own eyesight all affect the answer.
In UK practice, fog is reported when visibility falls below 1,000 metres, while mist covers the range from about 1 kilometre up to 2 kilometres. Above that you may still have haze, but you are not dealing with fog. You are not trying to compete with an airport transmissometer. You are trying to be consistent, so that this morning's reading can sensibly be compared with yesterday's.
Begin with landmarks, not instruments
Before spending anything, choose a set of reference objects at known or estimated distances from your usual viewing spot: a chimney at 150 metres, a church tower at 700 metres, a pylon at two kilometres, a ridge line at five. Dark objects against a bright sky work best. Note whether each is clearly visible, barely visible, or gone.
Do this from the same place every time. A fixed window, a garden gate, the same corner of a field. Photographing the same scene from the same spot each morning is one of the most useful habits you can build, because your memory of yesterday's fog is far worse than you think.
At night, a torch beam or a known streetlight will do the same job. Fog scatters light, so a beam that visibly fades within thirty metres is telling you something. Record the time alongside every observation: fog frequently thickens and thins in pulses rather than sitting still.
Dew point, spread and the fog recipe
The dew point is the temperature to which air must be cooled for water vapour to condense. It is the single most useful number for fog watching, more so than relative humidity. Relative humidity rises as air cools even when the moisture content has not changed; the dew point tracks the actual moisture.
The gap between air temperature and dew point is called the spread. A spread of ten degrees means you have a long way to go before saturation. A spread of one degree means condensation is imminent if cooling continues. Watch the spread close through the evening and you will start to see fog coming.
The classic radiation fog set-up
Radiation fog forms overnight over land when a moist lower atmosphere is cooled from below by a surface losing heat to space. The ingredients are fairly consistent: a clear sky, a long night, and light wind — enough to mix the lowest few metres, but not enough to stir the air through a deep layer. Dead calm often produces dew or frost on surfaces instead of fog, while a stiff breeze tends to lift any fog into low stratus.
Cool air drains into hollows, valleys and low-lying fields, which is why frost and fog appear there first and linger longest. Advection fog is a different animal: mild, moist air drifting over a cold surface, common around coasts and sometimes in spring. Freezing fog occurs when the droplets stay liquid below zero and freeze onto surfaces they touch.
The home kit that earns its place
- A digital thermo-hygrometer with min/max memory. Cheap, readable, and enough to give you temperature and dew point. Check it against another sensor now and then; they drift.
- A sling psychrometer. Wet-bulb and dry-bulb thermometers whirled by hand. Old-fashioned, but it gives you an independent dew point and a way of validating your electronics.
- An infrared thermometer. It measures surface temperature, not air. Point it at grass, a car roof or a road and you can see how much colder the ground has become than the air above it.
- A basic anemometer. Even a rough indication of whether wind is above or below the threshold matters, because fog formation is sensitive to it.
- A rain gauge. Wet ground after a damp day feeds moisture back into the air overnight, which is often the difference between a clear night and a foggy one.
If you want to check a humidity sensor, a saturated salt solution in a sealed container will hold a known reference humidity once it has settled. It takes a few hours and is more than accurate enough for this purpose.
A routine you can keep
- In the late afternoon, note cloud cover, wind strength and direction, and whether the ground is wet.
- After sunset, read air temperature and dew point and write down the spread.
- Check grass, road and car-roof temperatures with the infrared thermometer. If surfaces are already below the dew point, expect wetting or frost.
- Walk or look towards your lowest-lying ground. Cold air pools there first.
- Repeat the temperature and dew point readings an hour later. A rapidly closing spread is the signal you are waiting for.
- In the morning, record visibility against your landmarks before the sun has had time to burn anything off.
Records that reveal patterns
Columns in a notebook will do; a spreadsheet is easier to sort. Keep the date, time, air temperature, dew point, spread, surface temperature, wind, cloud and your best visibility estimate against the most distant landmark you could make out. Add a short note for anything unusual — fog started at the far end of the field, cleared by eight, returned over the canal at dusk.
After a few weeks you will see local rules emerging. Perhaps fog follows damp days in late autumn when the wind drops after dark. Perhaps your hollow fills on still mornings in September but stays clear once the trees are in leaf. Perhaps coastal fog arrives on a south-westerly in spring and has nothing to do with overnight cooling at all.
Consistency beats precision. Ten observations taken the same way at roughly the same hour are worth far more than one very careful measurement followed by a fortnight of nothing.
Getting started this week
Pick five landmarks and measure or estimate their distances. Buy one thermo-hygrometer and one infrared thermometer, and resist adding more until the routine has stuck. Then spend two weeks logging evening readings and morning visibility from the same spot, with the same camera angle for photographs.
Expect to be wrong often. Fog sits on a knife edge between wind, moisture and cooling, so forecasts of it are difficult even with far better equipment than yours. But over a season, your own log will beat a general forecast for your own garden. One safety note: if your monitoring takes you onto or beside a road in poor visibility, wear something reflective and stay well clear of traffic — drivers can see much less than you can.
Photo: Peyesces / Pixabay